Painting floor tiles: A step-by-step guide for DIYers
As the founder of a DIY school, Geneva Vanderzeil loves a shortcut – but she warns against skipping steps when painting floor tiles.
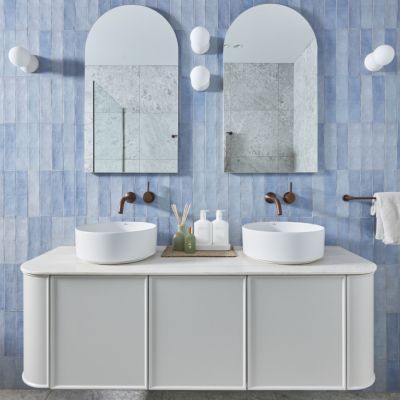
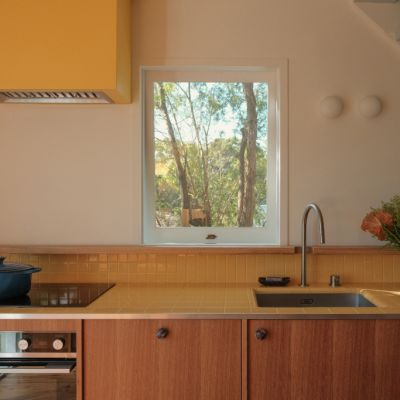
Painted floor tiles can elevate any bathroom, kitchen, laundry or mudroom, often at a fraction of the cost of a complete remodelling.
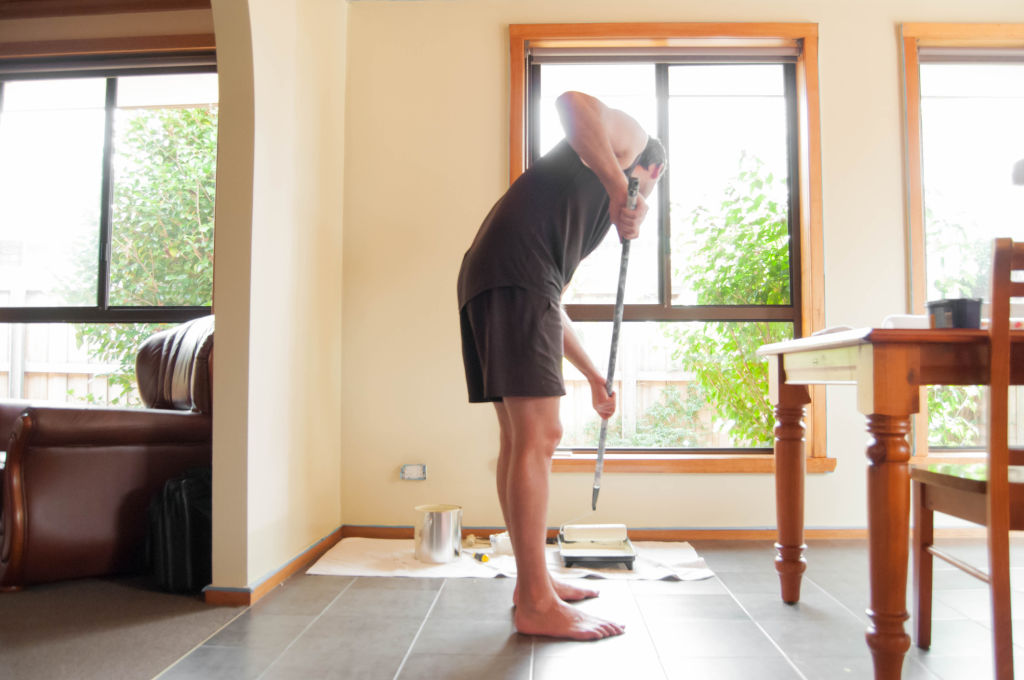
Vanderzeil experienced this first-hand as she helped her brother paint the floor tiles of his bathroom.
By the end of the process, the space looked brand-new. Here are the steps she followed.
How to paint floor tiles
1. Choose your tile paint product
Your choice of tile paint could be the difference between a schmick new floor that stands the test of time, or an outcome that becomes a liability in the long run.
While you might be tempted to use that old tin of paint that’s been lying around forever, Vanderzeil says this is the wrong approach.
“The water gets underneath the paint really quickly, and you get this bubbly lizard skin effect which eventually leads to it coming off.”
Instead, Vanderzeil says the Dulux Renovation Range is her go-to. It’s a two-pack product with primer and paint that dries quickly with minimal odour.

It’s available in a gloss or satin finish. The gloss option is generally suited to floor tiles, but both have benefits according to Andrea Lucena-Orr, colour and communications manager at Dulux:
- Gloss floor tile paint is easier to clean and well-suited to areas with lots of foot traffic coming inside.
- Satin floor tile paint is a flatter finish that can help hide imperfections in older, worn-out tiles.
2. Prepare the floor tiles
Before you get started, there are some safety precautions to take. Open a window and don a mask and goggles, since some tile paint products can have a strong smell.
Next, it’s time to prepare the surface. Vanderzeil often sees people skipping this step, arguably the most important stage.
Here’s what preparation looks like for the seasoned DIYer:
- Clean the tiles with Selleys Sugar Soap or wipes if you’re painting a smaller room.
- Clean the grout, whether it’s visibly dirty or not, using a toothbrush or small brush between the tiles.
- Lightly sand the tiles with a high grit or wet-dry sandpaper block – this scuffing motion will help the paint to grip the tiles.
- Apply masking tape to wall tiles and anything else you’d like to keep paint-free.
3. Apply primer to the floor tiles
Once you’ve mixed up the primer (it has an additive that activates the priming effect), cut in around the edges of each tile with a small brush.
Then, you can use a paint roller to apply primer to the rest of the surface.
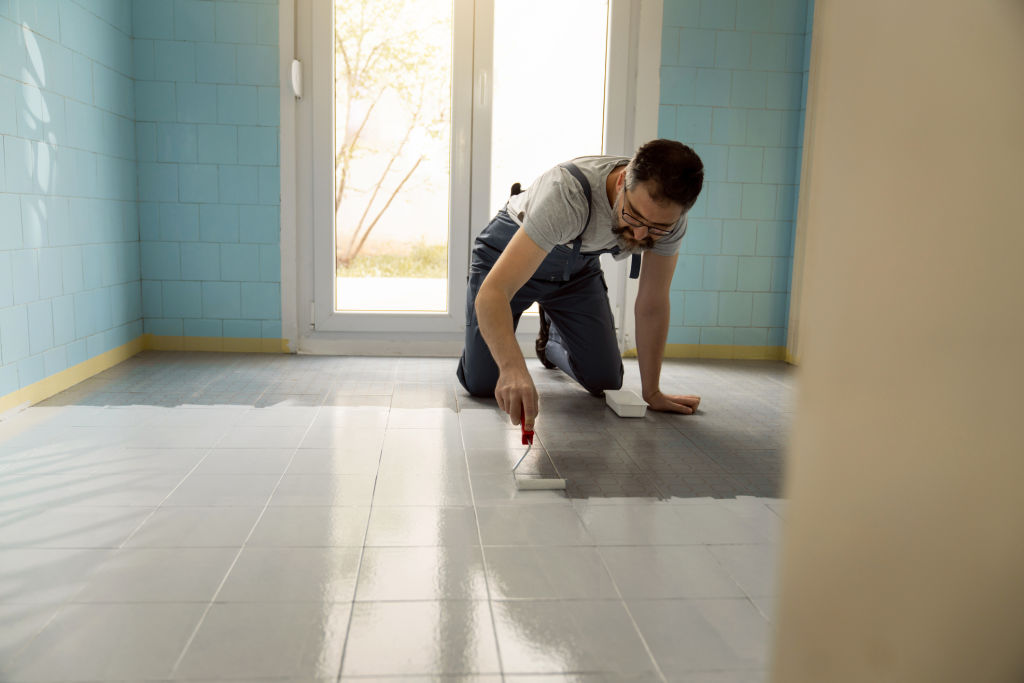
4. Painting the floor tiles (the fun part!)
Similarly to the primer step, use a brush to apply the first licks of paint to the corners of every tile.
Next, Vanderzeil likes to use a small, thin roller to get into the grooves of the tiles, including between the grout lines.
Lucena-Orr adds that spraying it on might be easier and faster for some.
Regardless of your chosen method, Lucena-Orr suggests watching a few YouTube videos beforehand to get a sense of the technique.
“It’s all well and good to read the instructions, but it’s always good to see how someone’s physically doing it, especially if you’re not used to painting floors because that’s not something we usually do,” she says.
“It also gives you a bit of motivation to keep going, when you see the before and after.”
If you’re aiming for a more playful look, Vanderzeil says you may want to consider stencilling once the base coat of paint is dry.
Others, like Carly-Anne Kenneally in her DIY bathroom renovation, go for a terrazzo look by scattering paint chips.
5. Seal the painted tiles
This step is relatively simple, but it is crucial in keeping painted floors durable for as long as possible. Apply the clear sealant with a paint roller.
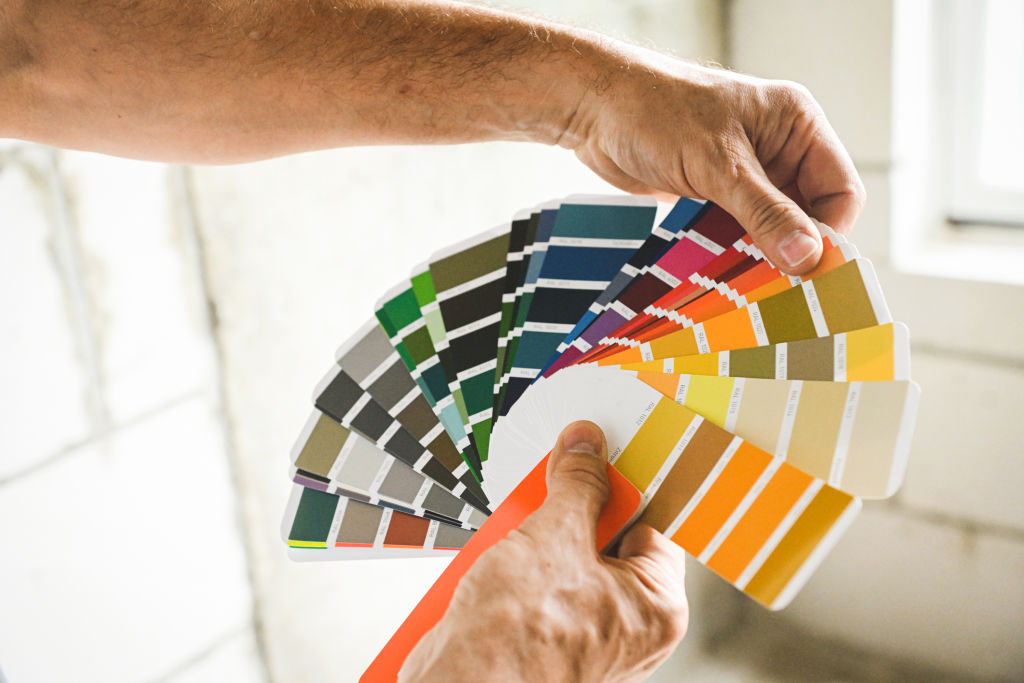
A final note on choosing a paint colour for your tiles
Lucena-Orr says most people opt for neutral colours as they have a certain timelessness, without clashing with other elements in bathrooms and kitchens.
“We’ve started seeing a lot more colour in cabinetry,” she says. “If you’ve got navy blue cabinetry, you might want to go for a grey-blue on your floor.”
“It might be a little too stark if you do a really light floor tile, you may not want that contrast.”
She recommends thinking ahead: what else do you plan to change about the space down the track?
“I often see mid-grey, mid-beige or tan … People tend to go darker on the floor than the walls because of wear and tear, especially when a paint job can show up dirt, mud and dust.”
We recommend


4 pubs for sale in Western Australia

We thought you might like


States
Capital Cities
Capital Cities - Rentals
Popular Areas
Allhomes
More
- © 2026, CoStar Group Inc.
